DNS
Configure DNS and Let’s Encrypt on whitesky.cloud
A proper hostname with a valid SSL certificate for the Nomadesk appliance will be set up.
- Decide which FQDN you will use, e.g.
nomadesk.customer.try-dns.whitesky.cloud. - Follow the Whitesky DNS documentation to:
- Create the DNS record (usually an A record) pointing to your VM’s public IP / endpoint.
https://try.whitesky.cloud/docs/en/dns/
- Create the DNS record (usually an A record) pointing to your VM’s public IP / endpoint.
- In Whitesky, enable or configure Let’s Encrypt for that hostname if the platform supports automatic certificate generation for your DNS setup.
Important: Nomadesk needs a certificate and will use HTTPS. Make sure the Let’s Encrypt certificate is correctly configured and the hostname resolves before you finalize the Nomadesk setup.
Setting up a new DNS Entry
In the Cloudspace, select the DNS section and click + Add DNS Record in the top bar
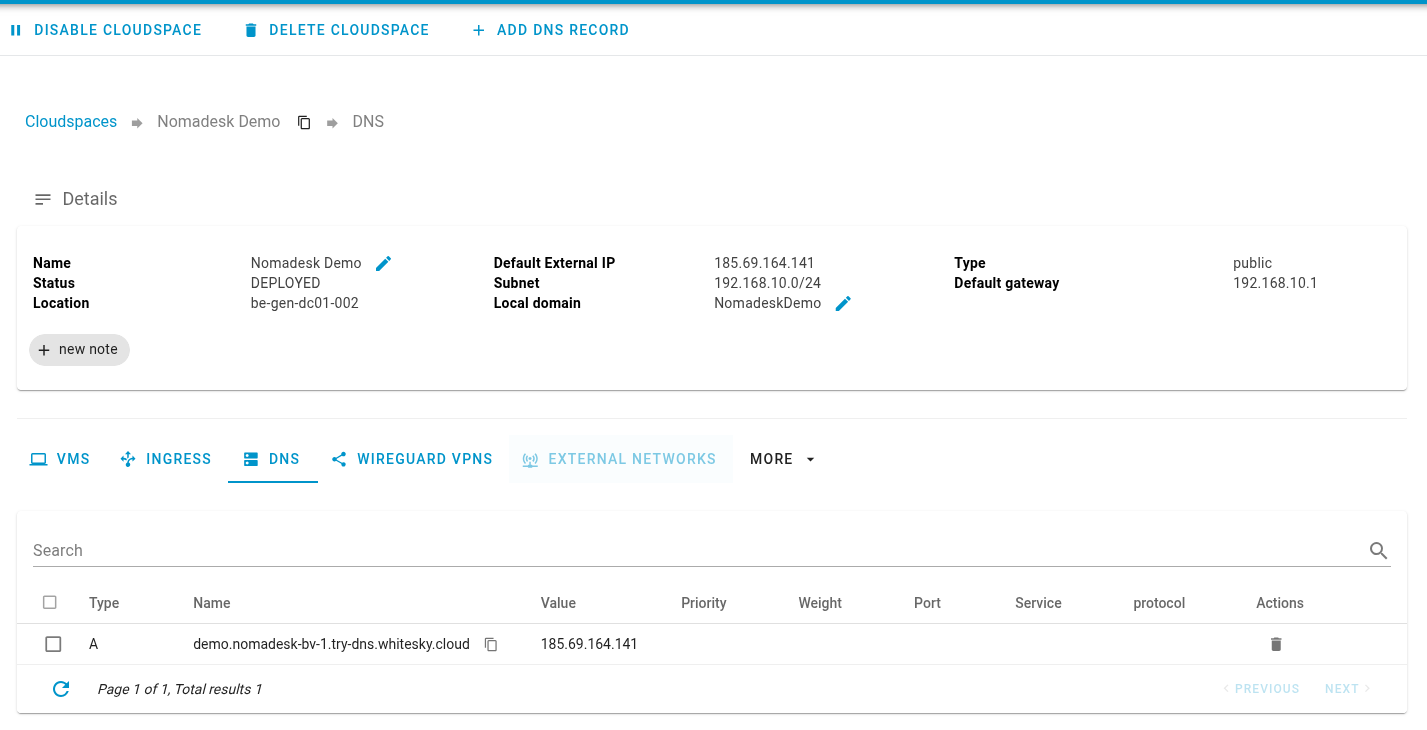
Select your top level domain and fill in your subdomain if needed, whitesky.cloud provides you with a ready to go domain name.
The IP address should be the one for your virtual machine created in the previous step:

Certificate
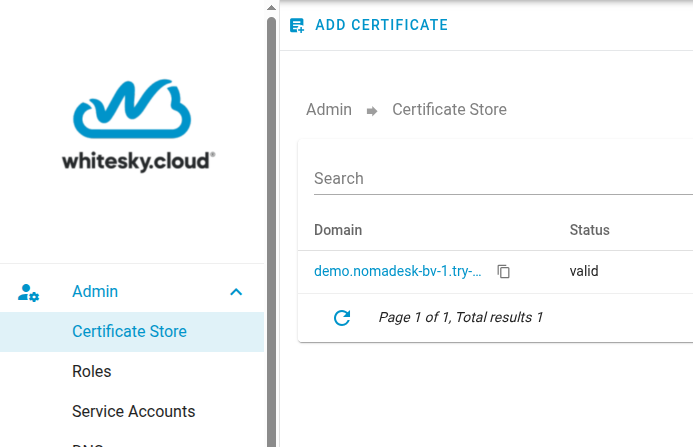
Nomadesk needs a certificate to work, whitesky can automatically provide you with a TLS certificate.
Go to "Admin -> "Certificate Store" and click "Add Certificate":
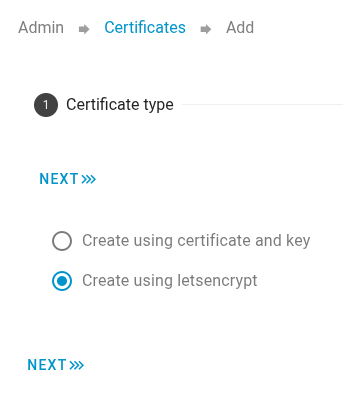
Select "Create using letsencrypt":
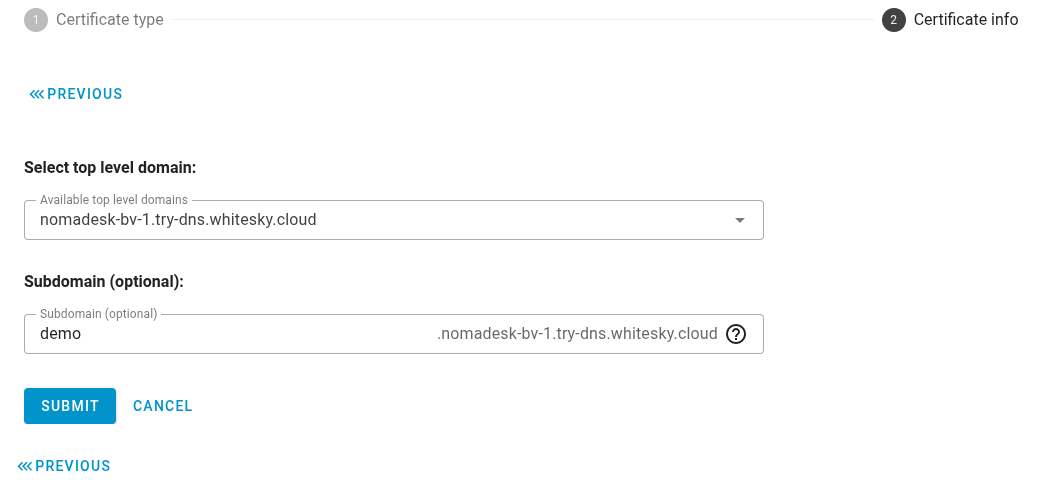
Select your top level domain and fill in the sub domain if needed:
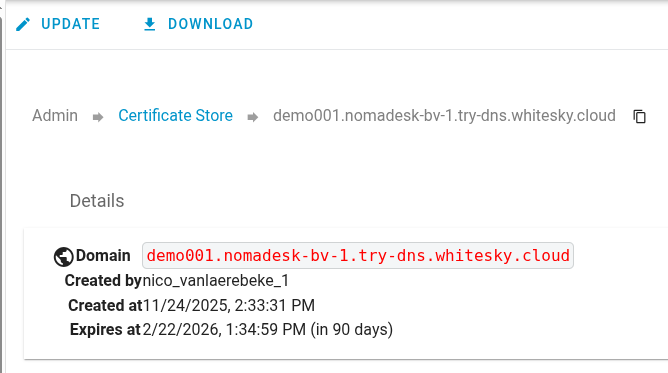
Once finished, go back to the "Certificate Store" and select the new certificate.
It can be downloaded by clicking "Download" at the top:
The ZIP file will contain your public and private key in PEM format that Nomadesk will need during it's installation.
Next, continue to configure firewall and port forwarding so the appliance is reachable for installation.